
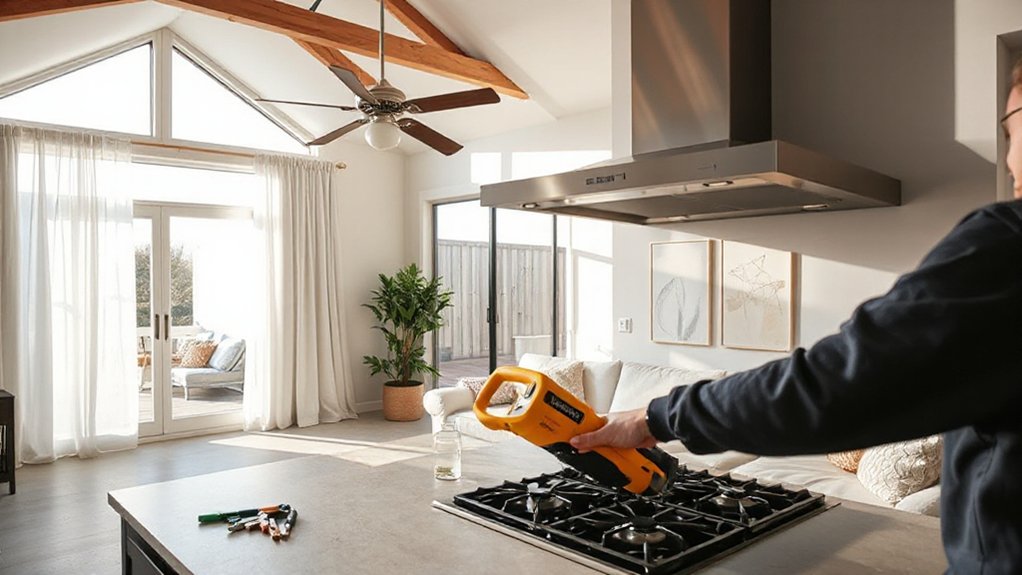
A practical renovation starts with a clear ventilation goal, measurable targets, and a plan that blends passive airflow with targeted mechanical forces. Map intake points and exhaust routes, seal leaks, and pair cross-ventilation strategies with appropriately sized fans or hoods. Prioritize airtight construction without trapping moisture, install controllable exhausts to exterior, and use humidity and CO2 sensors to guide operation. DIY tweaks help now, while professional design guarantees code compliance and long-term performance—more details await beyond this.
Why Ventilation Matters for Health and Comfort
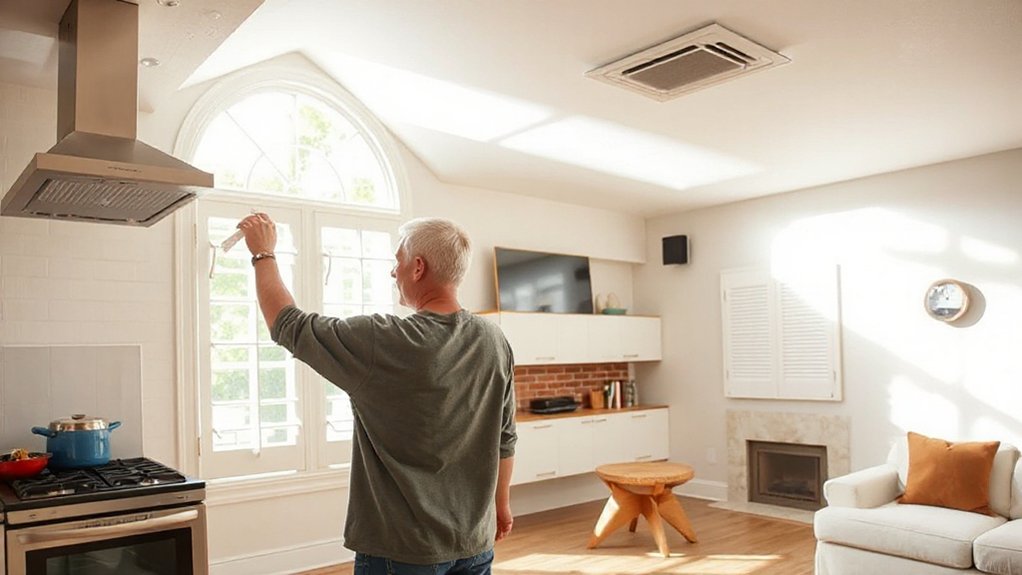
Ventilation matters for health and comfort because it directly affects the air you breathe and how your home feels. When you move air efficiently, you reduce moisture buildup, minimize odors, and curb irritants that trigger symptoms.
You’ll notice steadier temperatures, less condensation, and fewer seasonal allergies interrupting your routines. Effective ventilation supports consistent air quality, which in turn sustains your energy and focus during renovations.
Indoor plants can contribute modestly to humidity balance and aesthetic well-being, but they aren’t a substitute for proper airflow. Prioritize a controlled exchange of indoor and outdoor air, plus filtration appropriate to your climate.
Air quality improves as you design for balanced pressure, strategic intake and exhaust paths, and a maintenance mindset that keeps systems reliable and your workspace comfortable.
Quick Home Audit: Is Your Airflow Stuck or Stale?
Start with a quick air flow sources check to confirm vents, baffling, and exhausts aren’t blocked and that fresh air can reach living spaces.
Look for stale air indicators like persistent stuffiness, humidity pockets, or window drafts that suggest poor circulation.
If you find a gap, apply targeted quick mitigation steps such as clearing obstructions, resealing leaks, or adjusting fan and damper settings to restore effective ventilation.
Airflow Sources Check
Curious whether your airflow is doing you any favors? You start with a quick sources audit: identify where air enters and exits, and who controls the balance. Map intake points (doors, windows, vents) and exhaust paths (kitchens, bathrooms, laundry, attic hatches). Check for cross-traffic routes that create unwanted drafts or dead zones.
Evaluate duct design, filter placement, and fan operation to confirm air moves where you intend. Distinguish between Airflow aesthetics and real function: a neat grille isn’t enough if it’s choking or short-circuiting airflow.
Challenge Ventilation myths by testing with simple indicators—smoke near returns, listening for hesitation, watching for cooling drafts. Document findings, then prioritize fixes: sealing gaps, resizing dampers, improving exhaust layouts, and enabling balanced, continuous ventilation.
Stale Air Indicators
Stale air is the quiet culprit: you may not notice it until it lingers enough to affect comfort and health. You’ll spot indicators in daily life: stuffy rooms, lingering odors, and sudden headaches after long indoor periods.
Track air quality by noting humidity swings, dust buildup, and condensation on windows. Subtle signs include furring of surfaces, slower air movement, and pockets of warm, stagnant corners.
To gauge air circulation, compare room-to-room feel when doors are open versus closed, and listen for HVAC lag or uneven temperatures.
A practical checklist helps: smell tests, visible moisture, and fresh-air opening frequency. Recognize these signals as data, not drama, guiding you toward targeted ventilation fixes that maintain healthy air quality across spaces.
Quick Mitigation Steps
If you’re noticing signs of clogged or sluggish air, run a quick home audit to pinpoint where airflow is trapped and what to fix first. Begin with a simple visual check: confirm vents aren’t buried under furniture, and ducts aren’t crushed or leaking.
Measure pressure by feeling for cold drafts near windows and doors; drafty gaps often reveal path blockers. Check the central return path for obstructions and ensure filters are clean to restore indoor airflow.
Seal obvious leaks with tape or foam, then reseal penetrations in ceilings or walls to prevent cross-contamination. Note changes in comfort and air quality as you work.
These targeted steps build a baseline for more detailed renovations while keeping occupants connected and confident in safer, healthier indoor spaces.
Set Clear Goals: What Do You Want Ventilation to Achieve?
To set effective goals for ventilation, start by identifying what you want to achieve in each space: reduce humidity, improve IAQ, control odors, and balance comfort with energy use. You’ll define target outcomes, then map metrics you can track—percent RH ranges, carbon dioxide thresholds, or odor awareness scores.
Translate goals into design constraints: required air changes per hour, filtration levels, and allowable noise. Consider interior acoustics and aesthetic considerations alongside performance, so solutions feel integrated rather than impose.
Align goals with occupants’ needs—quiet spaces, busy kitchens, humid bathrooms—so everyone feels a sense of belonging. Document baseline conditions, set realistic timelines, and review quarterly.
Clear, measurable objectives keep decisions focused and help you compare products, systems, and draft layouts efficiently.
Passive vs. Mechanical Ventilation: Which Fits Your Home?
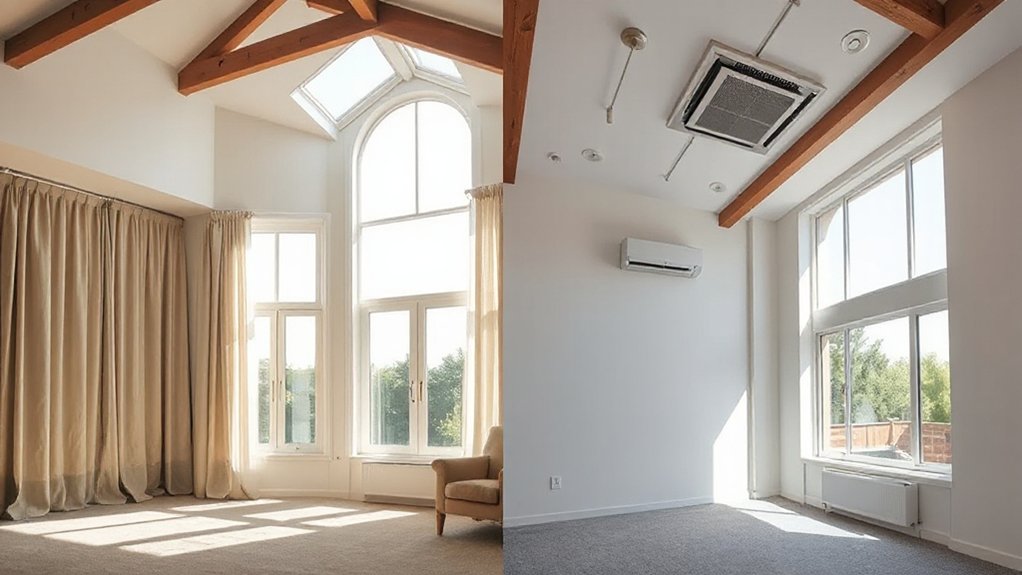
Passive ventilation relies on natural forces—wind, buoyancy, and stack effect—to move air without fans.
Mechanical ventilation uses fans and ducts to control air exchange precisely.
You’ll weigh consistency, noise, and energy use to decide which fits your home.
If your space enjoys calm, intermittent occupancy, passive systems can handle daily ventilation with minimal maintenance, but they depend on climate and layout.
Mechanical options deliver predictable air changes, faster pollutant removal, and better control during extreme weather, yet require filtration, commissioning, and ongoing power.
Consider your comfort with equipment, available space for ducts, and budget.
Indoor plants and air purifiers can complement either approach by supporting filtration and humidity, enhancing perceived freshness without replacing a thoughtfully chosen core system.
Tailor the mix to your priorities and home character.
Achieving Airtightness Without Trapping Moisture
In airtight construction, detailing matters: seal joints, penetrations, and progressions with compatible materials and proven practices, avoiding gaps that invite condensation. Use a layered strategy—control vapor diffusion, manage relative humidity, and guarantee proper drainage around the structure.
You’ll prioritize materials that tolerate intermittent moisture exposure and maintain performance over time. Regular inspections during construction help confirm continuity of barriers and absence of hidden paths for damp air.
Align commissioning with measurable targets; performance reviews keep moisture levels in check without compromising energy efficiency or occupant comfort.
Fresh Air Intake: Where to Put It, How Big, and What to Filter
Fresh air intake placement matters because it directly affects indoor air quality and energy performance. You’ll position it to minimize pollutant ingress while maximizing outdoor air distribution, balancing flow with your space’s airtight envelope.
Start by locating the intake away from exhausts, garages, and busy street fronts; consider a shaded, sheltered exterior point to reduce heat gain.
Size matters: approximate 1–2% of the system’s total air volume as a starting rule, then adjust for occupancy and climate.
Filter selection is critical: use a washable filter for maintenance-friendly options or a MERV 8–13 cartridge for better dust and allergen control, depending on device compatibility.
For best results, pair the fresh air intake with a sensible override so you can fine-tune ventilation without overcooling or overheating.
Air filter selection, fresh air intake.
Exhaust Strategies That Actually Work in Kitchens, Bathrooms, and Laundry
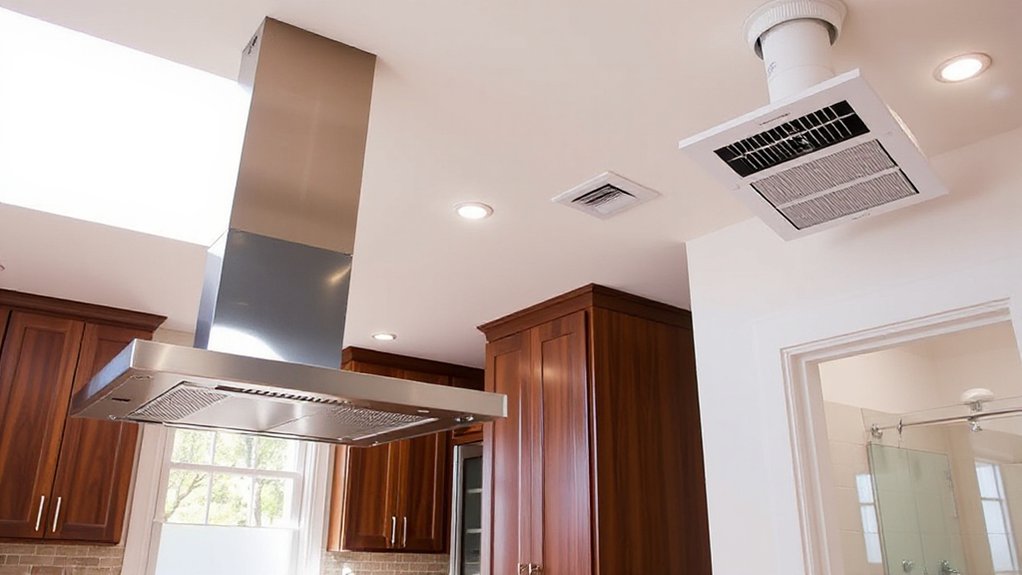
Placement matters: position hoods, fans, and grilles to capture heat and moisture at the source, with unobstructed exhaust paths to the outdoors.
Specify CFM targets by room—higher for kitchens, moderate for bathrooms, and appropriate for laundry—so you’re moving air effectively without over-ventilating.
Compare hood exhaust vs. wall/ceiling grilles to balance grease capture, noise, and distribution, and choose the system that fits your space and ducting constraints.
Exhaust Placement Matters
Exhaust placement is more than where a fan blows air; it determines how effectively moisture and odors exit your home. When you position vents with airflow optimization in mind, you reduce condensation, mold risk, and stale pockets that undermine comfort.
- Prioritize venting directly to the exterior, not into attics or crawlspaces.
- Align exhausts with prevailing wind paths to maximize discharge efficiency.
- Keep kitchen hoods, bathroom fans, and laundry vents clear of obstructions and dust.
- Avoid shared duct runs that backdraft and contaminate adjacent spaces.
This practical approach builds confidence and belonging, showing you can tune your system for reliable comfort.
With thoughtful exhaust placement, you gain consistent air quality, quieter operation, and a calmer, healthier home environment.
CFM for Each Space
To determine the right CFM per space, start with the basics: kitchens, bathrooms, and laundry rooms each have distinct moisture and odor loads that drive exhaust requirements. You’ll size exhaust by area and usage, not guesswork, so consider practical targets: kitchens 300–400 CFM for heavy cooking, bathrooms 50–110 CFM depending on fan and window options, and laundry around 100–150 CFM for moisture bursts.
Balance is key; higher CFM isn’t better if airflow patterns stagnate. Align fans with duct routes to avoid short-circuiting air and create steady exchange. Indoor plants benefit when you maintain gentle, continuous turnover, avoiding dead zones.
Map airflow patterns, verify with simple measurements, and adjust vent placement to support predictable air movement without overventing. This approach yields consistent comfort and better indoor air quality.
Hood vs. Ventilation Grilles
When choosing between a range hood and ventilation grilles, you’re selecting how exhaust moves from each space to the outdoors and how well you balance capture, distribution, and noise.
- Hood decision helps with strong suction, predictable capture, and quick odor control in kitchens, supporting a precise hood comparison.
- Grilles offer quiet, diffuse exhaust and flexible placement in bathrooms and laundry, aligning with discreet grille materials.
- Material choice matters: durable metals for hoods, corrosion-resistant grilles for wet zones.
- Sound and energy trade-offs matter; select based on space size, cooking or activity load, and desired comfort level.
hood comparison and grille materials guide your installer toward a tailored, communal fit that feels like belonging.
Humidity Control Essentials: When to Run Dehumidifiers and How to Dry Loads
Humidity control starts with timing: run a dehumidifier when indoor humidity stays above about 50% for 24 hours, or if you notice dampness, musty odors, or condensation on walls and windows.
You’ll maintain comfort and structural health by using humidity sensors to verify readings rather than guessing. Place the dehumidifier where airflow circulates, not blocked by furniture or walls, and near damp zones like basements or laundry rooms.
Pair operation with continuous drainage or easy-to-access collection, so you don’t interrupt drying cycles. When drying loads, run the unit briefly after washing to pull remaining moisture, then switch to a lower setting for overnight maintenance.
Regular checks of condensate lines and venting prevent outages and guarantee reliable dehumidification. Dehumidifier placement supports consistent, targeted drying without over-drying sensitive spaces.
Natural Ventilation Windows: Placement, Operation, and Sealing for IAQ
Natural ventilation via operable windows can markedly improve IAQ when you place them where cross-ventilation works best and seal gaps to prevent unwanted drafts. You’ll optimize comfort and air quality by coordinating window placement with outdoor conditions and indoor layout. Then refine sealing techniques to minimize leaks without sacrificing airflow.
- Identify prevailing winds and align windows to create a clear cross-flow that pulls stale air out.
- Use operable casement or slider styles for flexible opening ranges and reliable sealing.
- Seal edges with weatherstripping, caulk, and properly mated sashes to prevent drafts while preserving airflow.
- Test with smoke or incense to confirm unobstructed flow and adjust placement as needed.
Ductwork Fundamentals: Sizing, Insulation, and Hygiene You Can Trust
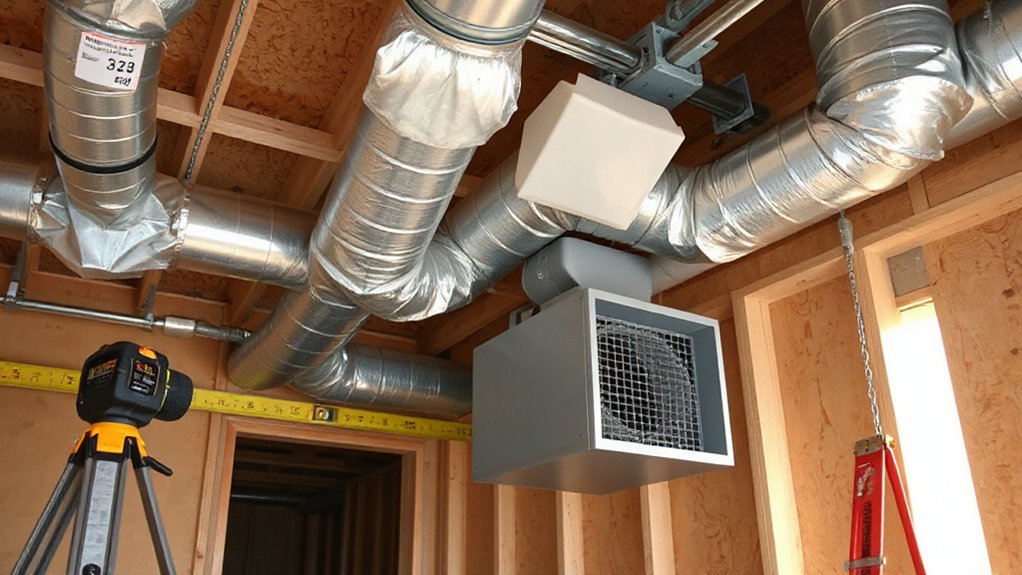
Ductwork fundamentals matter because properly sized, insulated, and clean ducts keep airflow efficient, quiet, and healthy. You’ll size ducts by expected CFM, matching to your system’s blower and load, reducing pressure loss.
Use seamless metal or high‑quality flexible ductwork materials rated for your climate to minimize leaks. Insulation techniques matter too: wrap ducts in continuous, reflective or fiber insulation with vapor barriers where needed, preventing condensate and heat gain.
Seal joints with mastic or appropriate tapes to curb air leakage, then test with a blower door or duct blower to verify performance.
Prioritize hygiene by choosing smooth interior surfaces and avoiding debris buildup; access panels simplify cleaning. With correctly sized, insulated, and clean ducts, you’ll enjoy consistent airflow, lower energy costs, and a more comfortable home.
Filtration Upgrades for Cleaner Indoor Air
Filtration upgrades boost indoor air quality by removing particles, pathogens, and odors before they reach living spaces. You’ll choose filters and housings that align with your system, balancing performance with cost. Air filtration improves comfort, reduces irritants, and supports healthier living.
- Select high-MERV or HEPA-compatible filters to capture fine particulates
- Install sealed housings to prevent bypass and maintain efficiency
- Use prefilters to extend the life of main filters and cut maintenance
- Schedule regular replacements to minimize indoor allergens and odor buildup
Implementing these steps creates a tighter, more breathable environment. You’ll notice fewer sneezes, clearer air, and a stronger sense of belonging in your renovated home.
Keep ventilation paths clean, verify compatibility, and track filter health to sustain reliable performance. Indoor allergens become manageable with consistent filtration. Air filtration matters.
Smart Ventilation: Automation, Sensors, and Scheduling That Save Energy
Smart ventilation leverages automation, sensors, and scheduling to cut energy use without sacrificing comfort. You’ll tune a system that learns your patterns, ramps up ventilation when humidity or CO2 rises, and scales back when rooms are quiet.
Smart thermostats coordinate airflow with heating and cooling, preventing energy waste while maintaining comfort zones. Sensors monitor air quality, temperature, and occupancy, triggering ventilation only where needed.
Scheduling lets you align fresh air with occupancy, so mornings are breezy without overnight losses. In practice, pair the tech with deliberate design: place exhaust and supply vents to avoid short-cycling, and keep pathways clear for airflow.
Include indoor plants strategically; they improve IAQ subtly and reinforce a sense of care and belonging in your space.
Budget-Friendly DIY Fixes That Boost Airflow Today
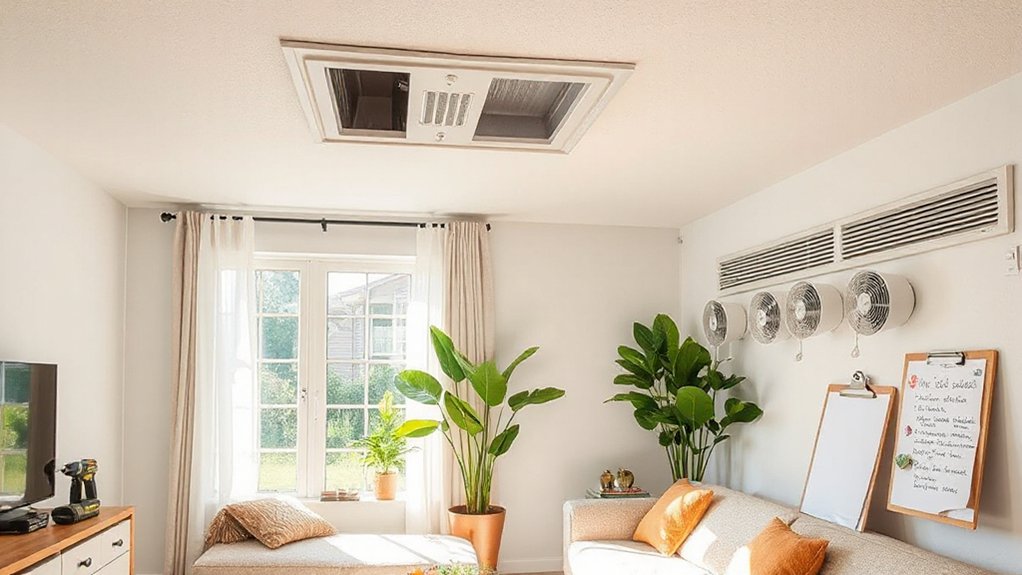
Between smart controls and dedicated design, you can move toward better airflow with budget-minded, DIY tweaks that you can tackle today.
1) Install simple air paths: rearrange furniture to avoid blocking vents and create clear circulation routes.
2) Elevate air quality: add a pair of indoor plants for surface-level filtration and ambient humidity balancing, plus component-level care.
3) Image-clear filtration: place affordable air purifiers in high-traffic zones to reduce particulates and odors.
4) Monitor and adjust: use a timer or smart plug to run fans intermittently, flush stale air, and cycle fresh air from outdoor intake points.
With these steps, you gain immediate impact and a sense of belonging through practical, technical improvements to your space. Indoor plants, Air purifiers.
When to Hire Pros: A Renovation Checklist for Ventilation Projects
If you’re planning a ventilation remodel, you’ll know there are tasks best handled by pros. A renovation checklist helps you decide when to bring in experts: assess electrical, ductwork, and exhaust routing for code compliance; confirm permits are required; and verify static pressure, airflow, and fan sizing with engineers or licensed HVAC techs.
Schedule pros for complex heat recovery ventilator installs, sealed duct tests, and acoustical treatment near noise-sensitive rooms.
Consider indoor plants and air quality as a preliminary evaluation, noting they’re complementary, not a substitute for proper ventilation.
Use pros to perform emission-safe insulation, moisture controls, and air-sealing to prevent thermal bridging.
Document warranty terms, maintenance intervals, and post-install air-quality testing to ensure lasting, inclusive comfort for everyone.
Maintenance Habits to Keep Airflow Fresh Year-Round
To keep airflow fresh year-round, you should establish a simple, repeatable maintenance routine focused on filtration, ventilation paths, and moisture control. You’ll notice tighter comfort, fewer drafts, and consistent temps when you stay proactive about system health and Airflow aesthetics.
Watch for ventilation myths that encourage neglect or overuse of devices; reality is steadier, measured care. Here are steps you can routinely follow:
1) Inspect filters monthly and replace as needed to sustain efficiency and air quality.
2) Clear supply and return paths of obstructions, ensuring balanced airflow.
3) Monitor humidity and address condensation or mold risks with dehumidification.
4) Schedule seasonal checks with pros to calibrate fans, vents, and moisture control.
Stay connected to your home’s breath and belong to a well-ventilated community.
Frequently Asked Questions
How Much Does It Cost to Improve Home Ventilation?
You’ll typically spend a few hundred to several thousand dollars, depending on scope, system type, and labor. Energy efficiency upgrades and improved air quality pay back over time through comfort, health, and long-term utility savings, boosting your sense of belonging.
Can I Ventilate Without Professional Help?
Yes, you can, but start with a DIY assessment and follow ventilation standards. Coincidence pulls you toward gaps—seal leaks, improve airflow, and monitor RH. You’ll belong by proving safer, compliant, practical improvements with confident, informed choices.
Which Rooms Need the Most Ventilation Risk?
You’ll want the highest risk in kitchens, baths, and laundry rooms. Prioritize those spaces with indoor plants and air filters, ensuring exhaust paths are clear, and you’ll feel cleaner air, more connected, and confidently protected throughout your home.
How Do I Test IAQ After Changes?
You test indoor air quality by performing ventilation testing after changes, using sensors and tracers to measure CO2, VOCs, and particulate levels. You compare results to benchmarks, adjust as needed, and document improvements for confidence and belonging.
What Are Signs of Improper Ventilation?
You’ll notice signs of improper ventilation like persistent stuffiness, window condensation, or uneven temperatures. If airflow is weak, you may lack Airflow improvements; explore Ventilation types to balance humidity, reduce odors, and improve comfort for everyone in the space.
Conclusion
You’ll feel the difference as airflow finally finds its rhythm, like a breeze unfurling a stubborn room. Nail the balance between airtightness and venting, and your house becomes a living system, not a stagnant cave. Choose the right mix of passive and mechanical solutions, add smart controls, and keep maintenance honest. With a practical plan, you’ll breathe easier, cut moisture woes, and protect your investment—a renovated home that works with you, not against you.