
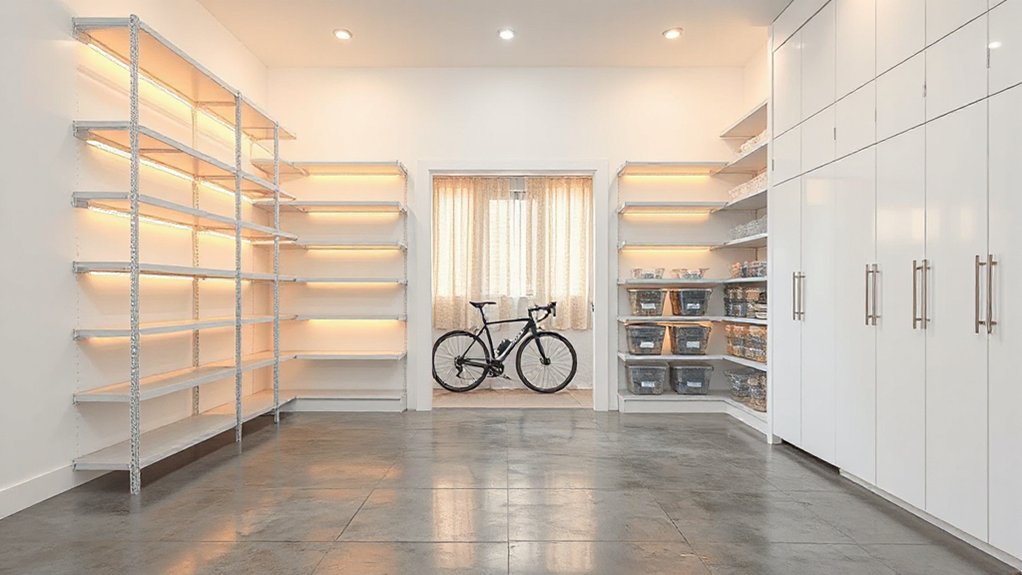
To renovate for better storage, start by identifying pain points and desired outcomes, then measure your space to map zones and traffic flow. Create room-by-room storage zoning and design multi‑purpose core areas for daily tasks. Prioritize vertical storage with tall shelving, hidden compartments, and modular systems. Choose durable, low‑porosity finishes, and opt for restoration or retrofit based on disruption and value. Plan a clear renovation timeline with milestones, so you maximize efficiency and accessibility—and you’ll discover more storage potential as you proceed.
Identify Your Top Storage Pain Points and Outcomes
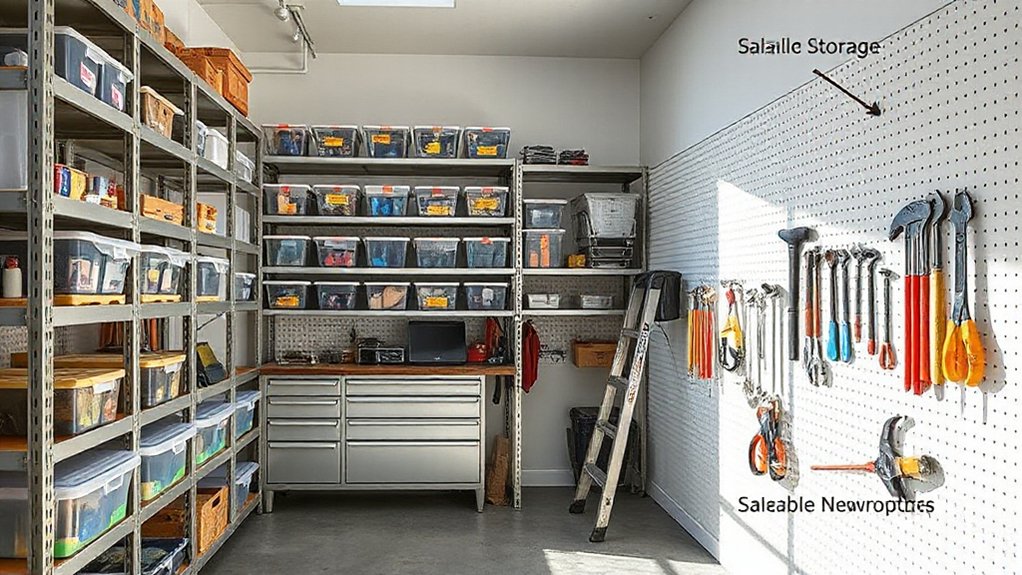
To identify your top storage pain points and outcomes, start by listing where you currently struggle: access bottlenecks, insufficient shelving, inflexible layouts, and subpar climate control. You’ll map every friction point, then translate each into a measurable outcome you want to achieve.
Prioritize issues by impact on daily flow, safety, and future growth. Consider your organizational habits: do you reach for items in the same spots, or do you hunt through clutter? Use that insight to guide storage customization, tailoring shelves, benches, and zones to how you actually work.
Define success with concrete targets: faster retrieval, reduced damage, and cleaner aisles. Document lessons learned so your team shares consistency, accountability, and belonging as you implement changes.
Measure and Map Your Space for Storage Planning
Measuring and mapping your space sets the foundation for practical storage planning. First, measure every relevant area: walls, doorways, alcoves, ceiling height, and floor-to-ceiling clearances. Note irregularities, slopes, and protrusions that affect layout.
Second, create a scalable map or floor plan, marking zones for current use and potential reallocation. Include dimensions, access points, and electrical outlets if relevant to shelving or appliances.
Third, assess traffic flow—how people move through the space without colliding with stored items.
Fourth, categorize items by size and frequency of use to guide shelving heights and bin dimensions.
Finally, translate observations into a concrete plan, prioritizing space efficiency and clutter reduction while preserving room for growth. You’ll gain clarity, confidence, and belonging in your organized environment.
Create Room-by-Room Storage Zoning
Room-by-room storage zoning starts with a clear, practical framework: assign each room a primary use, then carve out dedicated zones for typical items you’ll store there. You’ll gain clarity, reduce search time, and feel confident in your layout. Focus on observable needs, not vague hopes, and keep zones scalable as lifestyles shift.
Garage organization and attic shelving aren’t afterthoughts; they anchor efficiency for daily tasks and seasonal storage.
1) Map high-traffic items to nearby zones
2) Reserve vertical space for tools and bins
3) Label clearly to reinforce memory
4) Leave room for future expansion
With this approach, you create purposeful spaces, invite participation from others in your home, and build a shared sense of belonging through orderly, predictable storage.
Design Multi-Purpose Core Areas for Efficiency
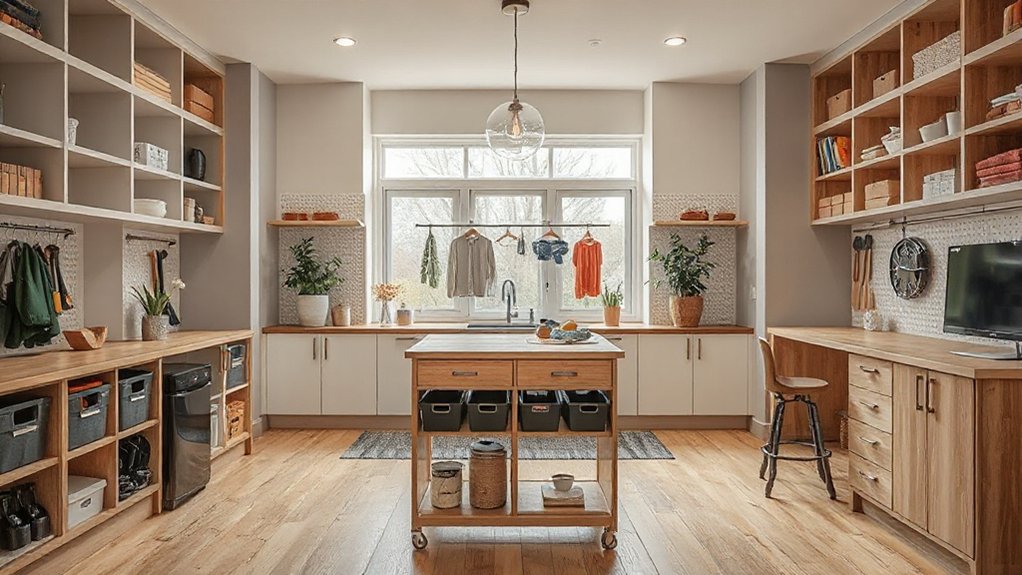
Design multi-purpose core areas by defining a few central work zones that serve daily tasks and seasonal needs alike. You’ll organize toward efficiency, not clutter, so every inch earns purpose.
Establish a core area zoning plan that groups similar activities—prep, cleaning, and short-term storage—within easy reach of adjacent tasks. Use multi-purpose furniture to flex spaces: a folding table that becomes a staging counter, built-in benches with hidden bins, and modular shelves that reconfigure for projects.
Position tools and supplies where you use them most, labeled and accessible, so shifts occur smoothly. Label zones clearly, so family members share the system without friction.
Maintain accessibility for seasonal shifts, then reassess quarterly to preserve continuity and belonging in your daily routines.
Choose Renovations That Maximize Storage
To maximize storage, prioritize vertical efficiency by installing tall shelving and ceiling racks that extend your usable space without widening the footprint.
Look for hidden compartments and under-stair or built-in nooks to tuck away seldom-used items, keeping your main areas uncluttered.
Finally, plan a flexible layout with movable partitions and modular fixtures so you can reconfigure as needs shift and volume changes.
Optimize Vertical Storage
Vertical storage is the backbone of an efficient storage renovation. You’ll maximize every inch by pruning clutter and prioritizing accessibility over aesthetics alone. Use smart systems that feel intuitive, so you and your team instantly belong to the workflow, not fight it.
- Creative shelving that adapts to item size, with adjustable heights and labeled zones.
- Vertical dividers to prevent shifting, creating stable, easy-to-reach stacks.
- Floor-to-ceiling racks that use every vertical inch without crowding your workspace.
- Modular units that can be reconfigured as needs change, preserving momentum.
Apply these in practical steps, aligning heights to your reach, tools, and common items. The result is cohesive organization that reinforces teamwork and confidence.
Utilize Hidden Compartments
Hidden compartments can dramatically increase usable storage without expanding square footage. You’ll carve out space where you least expect it, focusing on practical placements that stay out of sight yet remain accessible.
Begin with under-stair pulls, hollow risers, and false-bottom drawers in the kitchen islands, ensuring weight limits and hardware are rated for regular use.
In bedrooms, conceal clothing rails behind cabinetry and install lift-assisted lids on ottomans and bed bases for seasonal items.
Bathrooms benefit from recessed niches with moisture-rated seals and magnetic backs for small bottles.
Garages gain depth via wall-integrated bins that hinge open and close smoothly.
For tools, hidden compartments behind baseboards or inside workbenches offer secure, organized secret storage without clutter.
Hidden compartments reinforce belonging through thoughtful, shared resilience. secret storage
Plan Flexible Layouts
Flexible layouts are the backbone of maxed-out storage; start by prioritizing easy access and clear sightlines so every inch serves a purpose. You’ll design with flow, not clutter, using flexible furniture and adaptable layouts to scale as needs shift. This approach keeps spaces usable today and future-ready tomorrow.
- Assess zones for quick reach: keep daily items near entry points and work zones near the core.
- Use modular pieces: select shelves, cabinets, and racks that reconfigure without tools.
- Build in visibility: glass fronts and open backs reduce rummaging and highlight available space.
- Plan for vertical gains: tall units, wall-mounted systems, and overhead storage maximize balance and efficiency.
With this mindset, you belong to a space that adapts to you.
Maximize Vertical Storage With Built-In Solutions
To maximize vertical storage, install built-in solutions that make use of every inch from floor to ceiling. You’ll design tall cabinetry, recessed cubbies, and wall-mounted systems that reduce clutter while maintaining accessibility.
Start with a modular framework: adjustable shelves, vertical runners, and tie-in to existing studs for strength. Consider vertical stacking to double usable space, stacking bins and crates above dresser or wardrobe units without obstructing doors.
Opt for shelf customization with varying depths and heights to accommodate atypical items, from seasonal decor to hobby gear. Finish with durable, non-slip liners and labeled zones so family members know where things belong.
Precision placement and uniform hardware create a cohesive look, reinforcing that you belong in a well-organized home you helped shape.
Improve Access With Smart Doorways and Clear Pathways
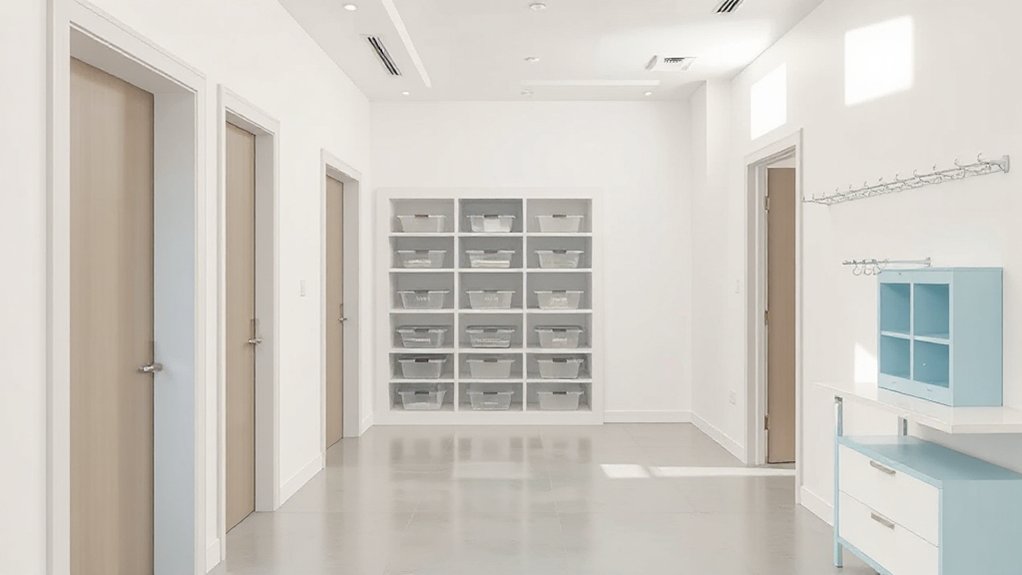
Smart doorways and clear pathways transform movement through a space, letting you access stored items quickly without weaving around obstacles. You gain efficiency when routes are direct, lighting is ample, and doors swing smoothly. To optimize, evaluate traffic patterns first, then implement scalable solutions that adapt as your storage grows.
- Prioritize wide doorways for oversized items
- Keep main aisles at least 36 inches wide
- Install hinge-side clearance and soft-close hardware
- Use clear labeling and color-coding for quick access
This approach reinforces Smart access and Clear pathways, ensuring you move confidently through every corner.
You’ll feel belonging as organization becomes muscle memory, reducing frustration and saving time. Maintain visible sightlines, avoid clutter, and periodically reassess layouts to preserve flow, even as supplies change.
Design Custom Closets That Fit Your Stuff
Designing closets that truly fit your stuff starts with a clear assessment of what you store and how you use it. You’ll group items by category, frequency, and size, then map flow from hang to stack to display.
Choose durable hardware and adjustable rails so the space evolves with you. Implement custom shelving that follows real dimensions, not generic bins, ensuring every inch serves a purpose.
Plan zones for long garments, folded stacks, and seasonal bins, avoiding bottlenecks at doors. Integrate closet lighting that brightens work spaces without glare, highlighting corners and high shelves.
Prioritize accessibility, clear sightlines, and load-bearing capacity to maintain order. This approach creates a personalized, functional storage core you’ll trust daily.
Seasonal Storage Systems That Work Year-Round
- Define zones by season and function, then label with durable markers.
- Use modular bins and adjustable shelves to reconfigure as items rotate.
- Create a dedicated outdoor gear nook with waterproof containers and easy-clean racks.
- Plan vertical storage to free floor space for bulk seasonal items.
Enhance Climate Control for Long-Term Storage
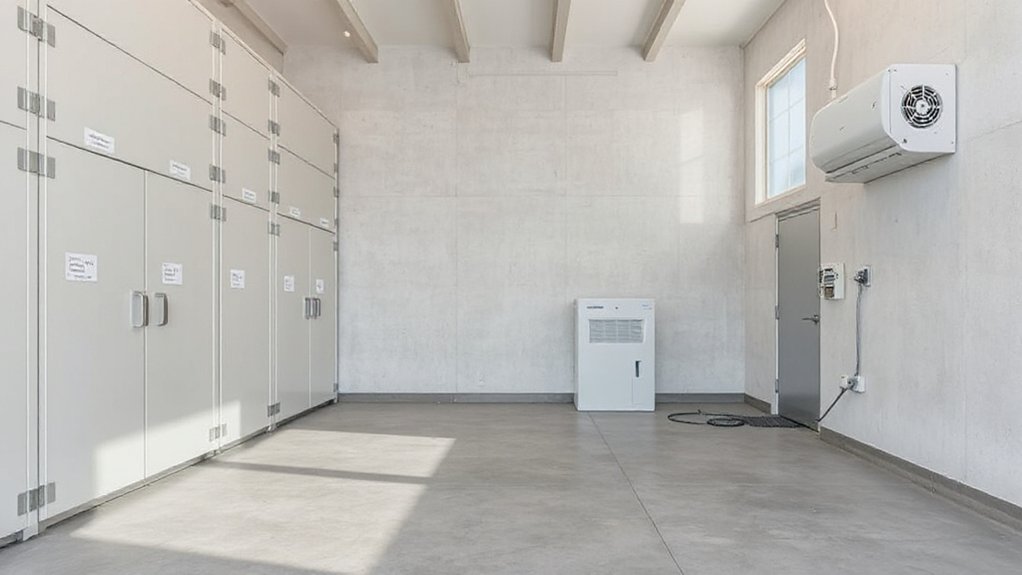
To protect long-term storage, guarantee climate-controlled storage with a reliable temperature range and consistent airflow.
Prioritize insulation for stability and consider vapor barriers to minimize heat exchange and reduce energy use.
Implement humidity management strategies with a monitored dehumidification system to prevent mold, corrosion, and material degradation.
Climate-Controlled Storage
How can you guarantee long-term storage stays pristine? You implement targeted climate control that protects contents and reinforces belonging to a safe, well-managed space. Precision matters: monitor temperature and humidity, choose stable HVAC, and seal ducts to minimize drafts. Regular maintenance prevents drift that could degrade items or energy efficiency. Climate optimization isn’t cosmetic; it’s infrastructure.
- Install a reliable monitored system with alarms for deviations
- Set appropriate ranges for temperature and humidity per item type
- Schedule routine calibration and filter changes
- Integrate access controls and lighting to support Storage security and deter unwanted exposure
Keep a log, review trends monthly, and connect climate data with security alerts. Practical control reduces risk, builds trust, and reinforces your sense of belonging in a well-kept, protected space.
Insulation For Stability
Insulation isn’t decorative, it’s the backbone of stable long‑term storage. You’ll protect contents by choosing the right materials and detailing tight junctions, continuity, and vapor control.
Prioritize insulation stability across walls, roofs, and floors so cold and heat don’t creep in or out unpredictably. Use continuous blankets or panels with proper fasteners, seals, and edge trims to prevent gaps that compromise performance.
Align your installation with climate expectations, avoiding overkill in mild zones or under‑insulation in cold ones. Achieve high thermal efficiency by minimizing thermal bridges and ensuring a snug attic-to-basement envelope.
Regularly inspect for compression, moisture, and settling that can erode stability. When done right, you’ll feel a shared confidence that your stored items stay consistent and protected.
Humidity Management Strategies
Humidity is a key partner to stable storage, so you’ll want a practical plan that keeps moisture in check without wasting energy. You’ll manage humidity by prioritizing control points, from entryways to shelving zones, and by matching equipment to your space.
Mold prevention hinges on steady airflow and consistent moisture ceilings, while ventilation techniques prevent pockets of damp air from forming.
- Seal high-traffic gaps, then cycle air with balanced intake and exhaust.
- Install a humidity monitor and keep it within the recommended range for long-term storage.
- Use exhaust fans during humid days and after cleaning to dry surfaces quickly.
- Schedule seasonal checks for duct leaks and filter cleanliness to sustain clarity and airflow.
This approach reinforces belonging by showing you’re proactive, precise, and prepared.
Incorporate Flexible, Modular Furniture
Flexible, modular furniture is essential for a storage-focused renovation because it adapts to shifting needs and space constraints. You’ll optimize every corner by selecting pieces that serve multiple roles and can be reconfigured without tools.
Start with modular storage units that stack, slide, and couple to form shelves, cabinets, and work surfaces as required. Choose desks, benches, and seating with built-in cubbies or peg systems to keep tools, supplies, and seasonal items organized.
Favor lightweight, durable materials and neutral finishes that blend with your space while remaining resilient to frequent rearrangements. Plan layouts that allow clear pathways and easy access to frequently used items, then adjust as your collection evolves.
With modular furniture, you build a cohesive, flexible environment that reinforces a sense of belonging and control. Modular furniture, Flexible layouts.
Exploit Hidden and Under-Stair Storage Options
Under-stair and hidden nooks are goldmines for a storage-focused renovation, and you’ll want to map them out with the same precision you use for modular systems. You’ll access discreet capacity without sacrificing room flow, so plan around access, ventilation, and load paths.
Hidden compartments and under stair storage should feel intentional, not gimmicky, so label zones and create a simple door or drawer mechanism that stays civil with daily use.
- Locate each under-stair cavity and assess it for humidity, weight, and access.
- Design lift-out or sliding panels to conceal shelves, bins, or hanging solutions.
- Integrate lighting that activates with access for quick visibility.
- Use uniform hardware to maintain a clean, cohesive look throughout.
Choose Durable Materials and Finishes for Storage
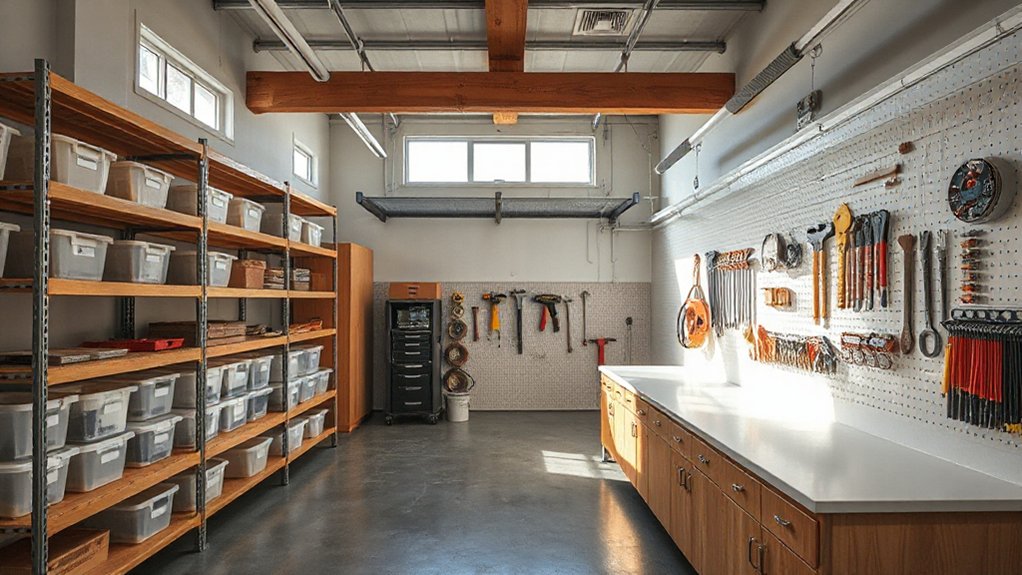
You should start by selecting durable surface choices that resist wear and moisture, like sealed plywood, high-density laminate, or powder-coated metal.
Consider finish longevity by opting for UV-stable, stain-resistant coatings and easy-to-clean textures that hold up with frequent use.
Prioritize materials that balance cost, maintenance, and light exposure to minimize upkeep over time.
Durable Surface Choices
Durable surfaces are the backbone of a storage renovation, so choose materials that stand up to heavy use and moisture. You’ll prioritize surface durability that resists scratches, cleaners, and impact while remaining easy to clean and sanitize.
- Opt for epoxy or solid-surface counter tops that tolerate spills and chemical cleaners without staining.
- Choose enamel-coated metal or powder-coated steel shelving for corrosion resistance and long-term stability.
- Install high-density laminate or polymer floors with slip resistance and moisture tolerance for easy maintenance.
- Use sealed concrete or tinted sealers on concrete to prevent dust, stains, and wear.
Durable surfaces reduce maintenance time, helping you feel confident in your space. You’ll notice consistent performance, improved safety, and a sense of belonging in a reliably organized storage area.
Finish Longevity Considerations
Finish longevity hinges on selecting materials and finishes that resist wear over time. When you choose, prioritize surface resilience and ease of maintenance, so your storage feels reliable and welcoming day after day.
Opt for finishes with low porosity, moisture resistance, and UV stability, which reduce staining and warping and keep spaces feeling fresh. Look for material durability that handles frequent traffic, impact, and temperature swings without showing wear.
Consider vinyl, epoxy, or sealed concrete for floors, and high-grade laminates or powder-coated metals for cabinetry. Use finishes with antimicrobial properties where appropriate to promote lasting hygiene.
Balance durability with texture and appearance to foster a sense of belonging in your space. With careful selection, your storage remains functional, cohesive, and enduring.
Budget-Friendly Storage Upgrades That Pay Off
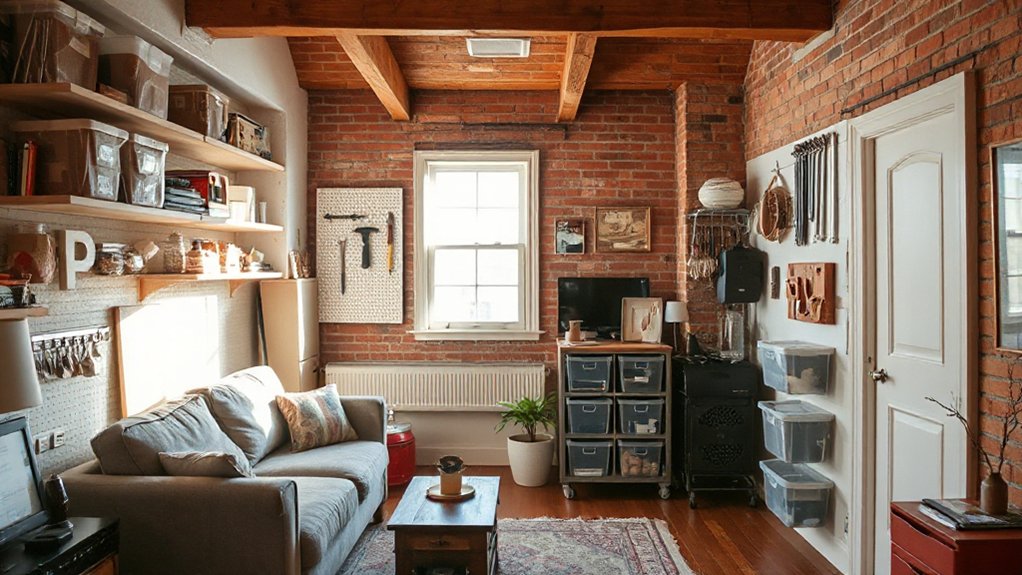
Even with a tight budget, you can access meaningful storage gains by choosing high-impact upgrades that justify the investment. You’ll see practical results fast, with a focus on durability, function, and a cohesive feel that honors vintage decor while boosting exterior aesthetics.
1) Install modular shelving in core zones to maximize vertical space and keep items accessible.
2) Add wall-mounted peg systems and labeled bins for quick categorization and reduced clutter.
3) Use adjustable closets and slim-profile racks to fit awkward corners without full renovations.
4) Upgrade doors or hardware with weather-resistant finishes to improve exterior appearance and long-term value.
These choices deliver reliable storage payoffs, reinforce a sense of belonging, and respect the property’s character without breaking the bank.
Restoration vs Retrofit: What to Replace for Storage
When you’re deciding between restoration and retrofit for storage, you should weigh cost, disruption, and long-term durability. The goal is to identify which components truly constrain capacity and accessibility.
Then determine whether restoration preserves value or retrofit delivers greater utility. This kickoff sets the framework for a practical, exacting comparison of what to replace, and why.
Restoration Versus Retrofit
Deciding between restoration and retrofit comes down to practicality, cost, and how you plan to use the space for storage. You’ll weigh historical preservation against modern function, choosing options that respect the building’s character while meeting storage needs.
Retrofit often offers quicker gains and better integration with current systems; restoration prioritizes authenticity and long-term resilience. Your decision sets the tone for future maintenance, so be precise in scope and expectations.
Historical preservation and aesthetic integration should guide material choices and detailing, even when you retrofit.
- Prioritize essential systems first, then add storage-friendly features
- Leverage existing architectural cues to maintain cohesion
- Choose discreet upgrades that minimize visual disruption
- Plan for long-term upkeep and reversibility where possible
What to Replace for Storage
Choosing between restoration and retrofit guides what you should swap out first for storage. You’ll prioritize components that directly impact organization and access. Start with cabinets, shelving, and storage-ready surfaces that maximize space without sacrificing usability.
If restoring, focus on preserving character while upgrading hardware for sturdiness. If retrofitting, prioritize modular systems that can reconfigure as needs change.
Replace inefficient lighting with bright, low-heat LEDs to illuminate every corner. Update electrical outlets and charging stations where you store gear, tools, or seasonal items.
Consider vintage fixtures and decorative accents only if they enhance function or reliability, not just nostalgia.
Prioritize durable, easy-clean finishes on workbenches and walls. These choices create a cohesive, welcoming space where you belong and can efficiently access every stored item.
Step-by-Step Timeline for Storage Renovation
A clear, practical timeline keeps a storage renovation on track and minimizes downtime. You’ll map phases, set milestones, and align workdays with deliveries, so you feel confident and supported throughout.
Start with a site assessment, then finalize plans, permits, and safety checks before you touch a tool. Move to demolition and disposal, then framing, wiring, and insulation, followed by fixtures, storage systems, and finishes.
Schedule reviews after each phase to stay accountable and connected with your team.
- Define milestones and owners to foster accountability
- Coordinate trades and deliveries to avoid delays
- Prioritize safety checks and waste management
- Integrate vintage fixtures and artistic accents for a cohesive feel
Frequently Asked Questions
How Long Does a Storage Renovation Typically Take?
Typically, it takes a few days to a few weeks, depending on scope. You’ll prioritize Storage organization and Space optimization, plan meticulously, and coordinate trades, finishing in sequence so you feel confident, efficient, and part of a well-run, practical project.
What Are Hidden Costs to Expect in Storage Upgrades?
Hidden expenses in storage upgrades include permits, inspections, and unexpected structural fixes; renovation surprises pop up, from rerouting wiring to moisture mitigation. You’ll want contingencies, document everything, and keep suppliers aligned so you feel secure and supported throughout.
Can Rental Storage Help During Renovations?
During renovations, you can use rental storage as a staging bay, so your belongings stay safe and organized. Temporary shelving helps, and security measures protect items. You belong here, managing space like a steady captain steering through storm.
What Permits Are Needed for Built-In Storage Projects?
You’ll need to check building codes and permit requirements before starting built-in storage projects; obtain approvals, schedule inspections, and follow safety standards. You stay compliant, informed, and confident, ensuring your renovations fit community expectations and protect your home’s value.
How to Prioritize Renovations for Cost-Efficiency?
Prioritize high-impact moves: design layout for efficient flow and long-term use, then optimize material selection to balance durability and cost. You’ll maximize space, minimize waste, and feel confident together, knowing every dollar supports practical, lasting storage improvements.
Conclusion
You’ve identified what storage you’re missing and measured precisely where it fits. Now, map zones, design multi-use cores, and pick durable finishes that endure daily use. Prioritize renovations that release, not clutter, from every room. Trim costs with smart, budget-friendly upgrades, and decide what to replace by restoration vs retrofit. Create a realistic timeline, then execute with methodical steps. Stay disciplined, because when storage finally works, you’ll wonder how you ever lived without it—it’s a game changer.